IMA Photos/Videos
IMA Retreats
Retreats
Thursday
Thursday
Friday Photos
Friday Photos
Friday Videos
Friday Videos
Saturday Photos
Saturday Photos
Saturday Videos
Saturday Videos
Israelite Men's Association 2023 Retreat
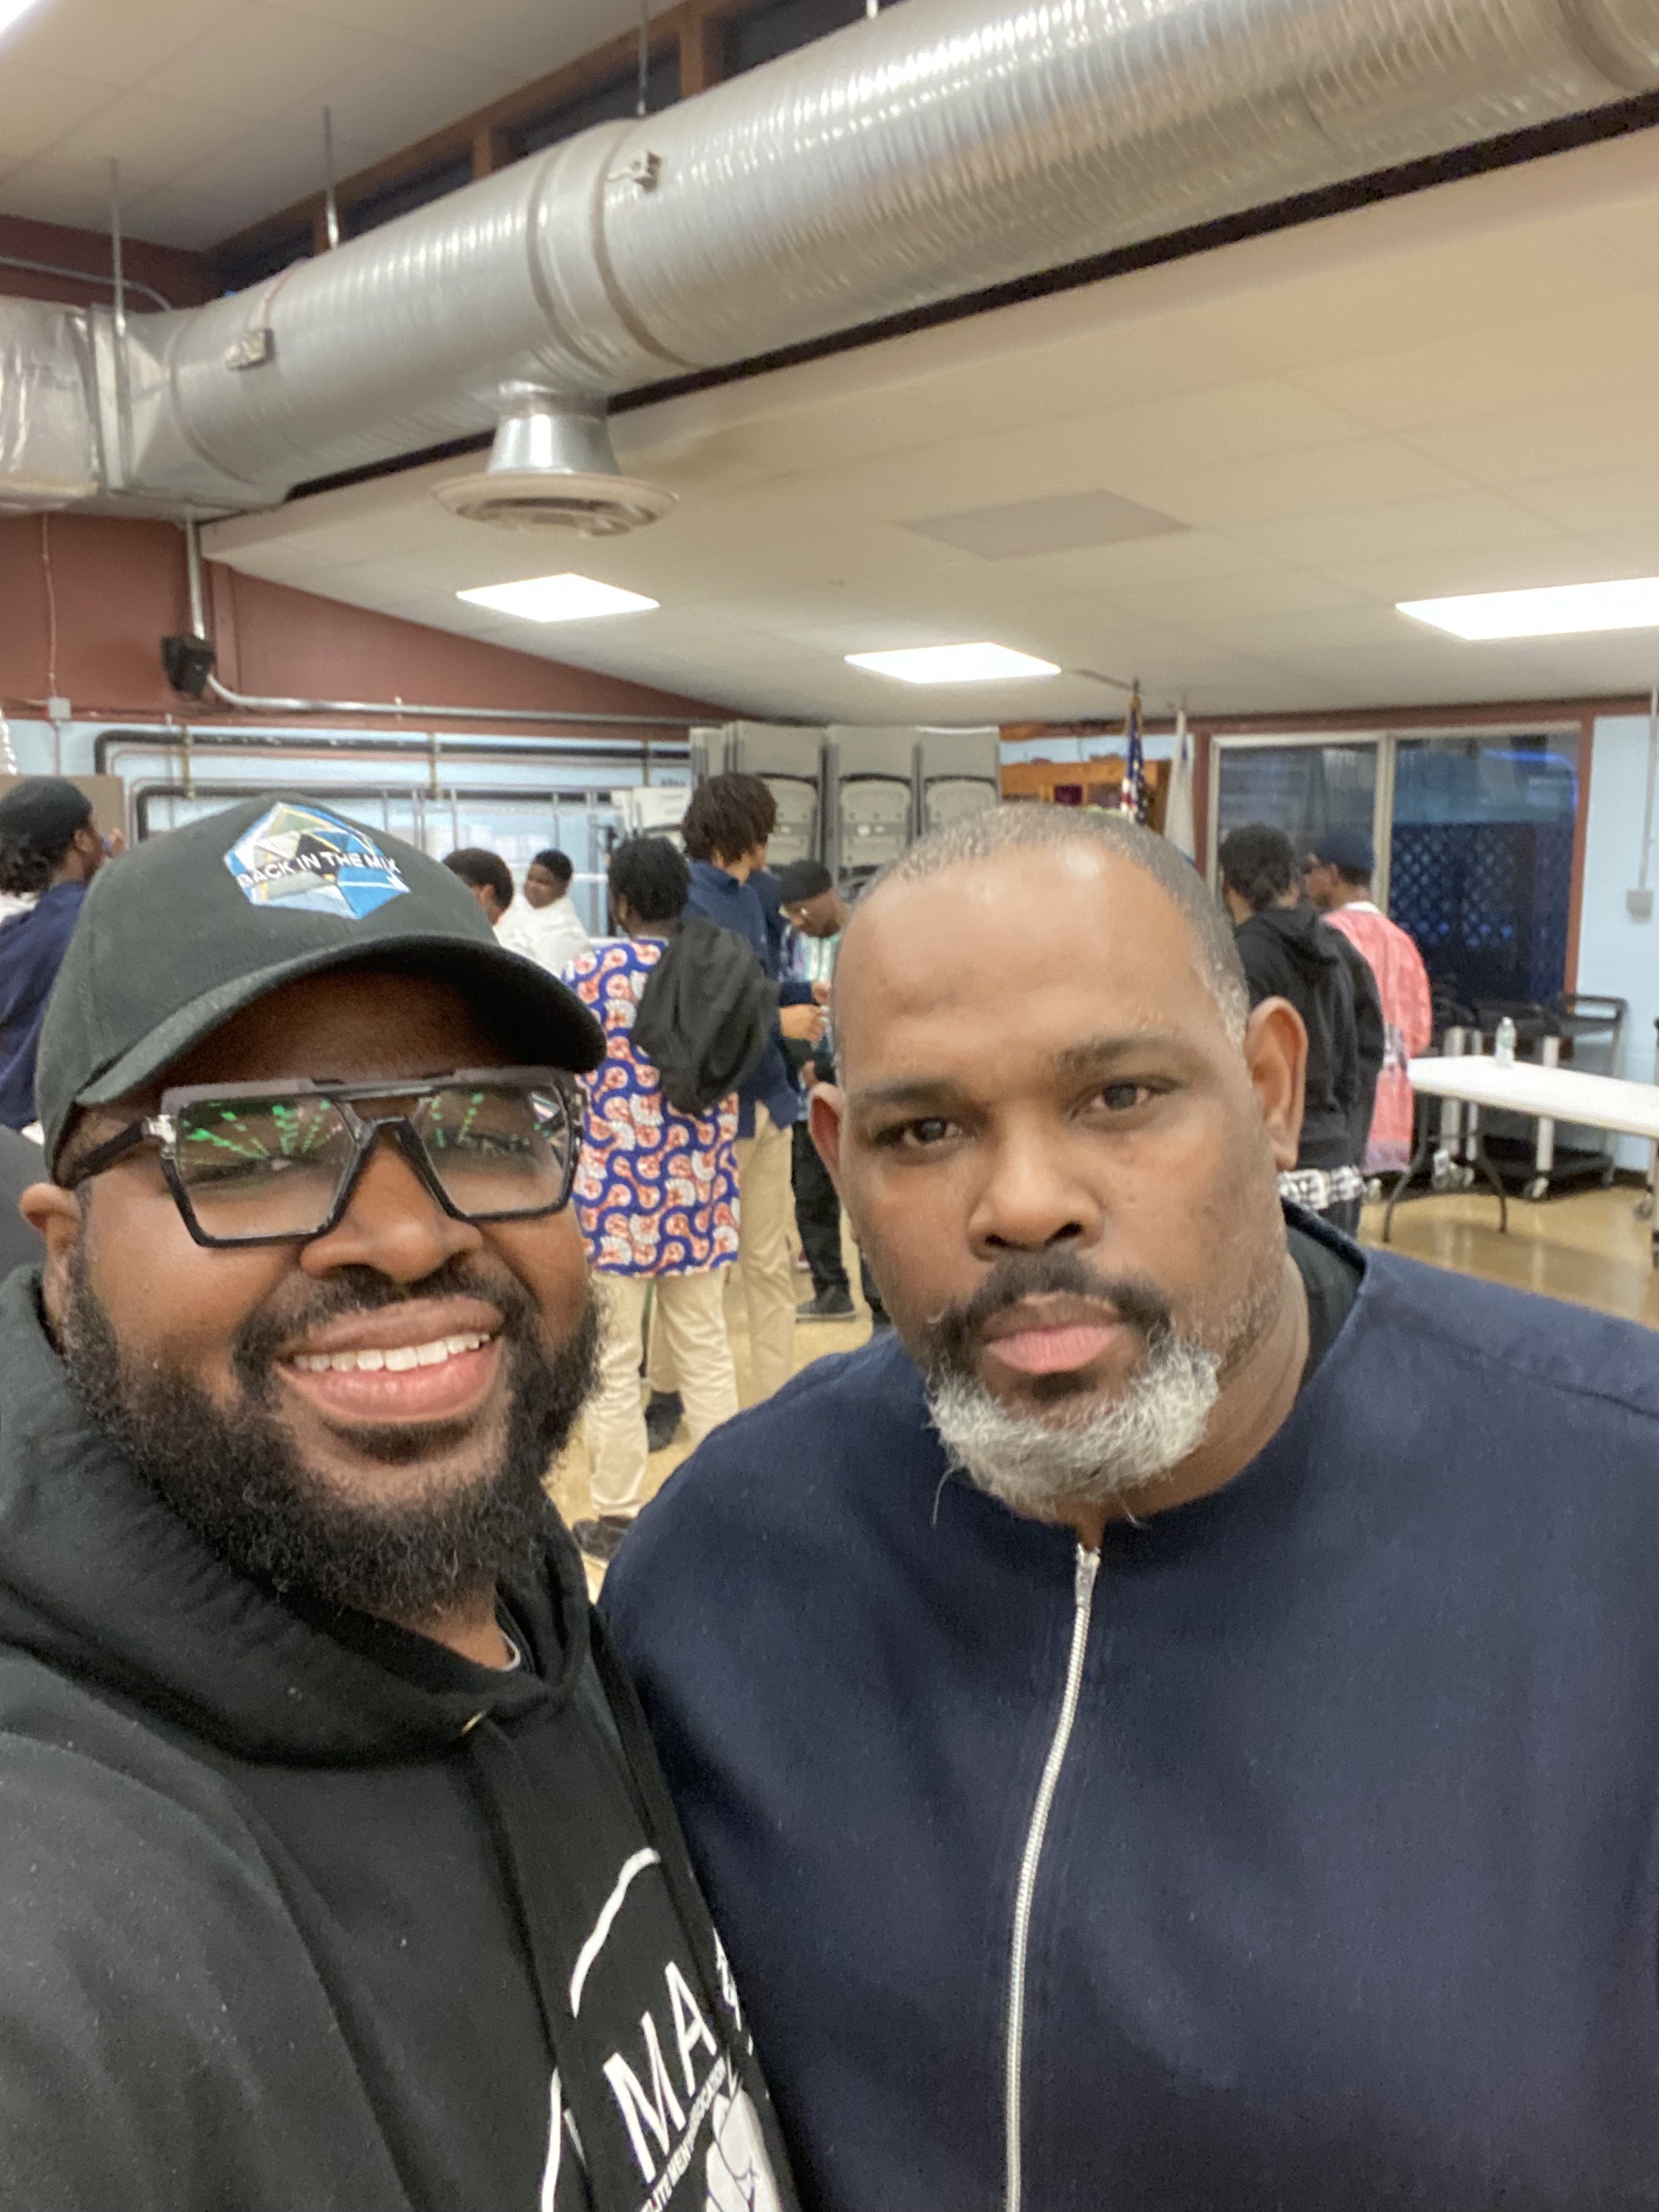
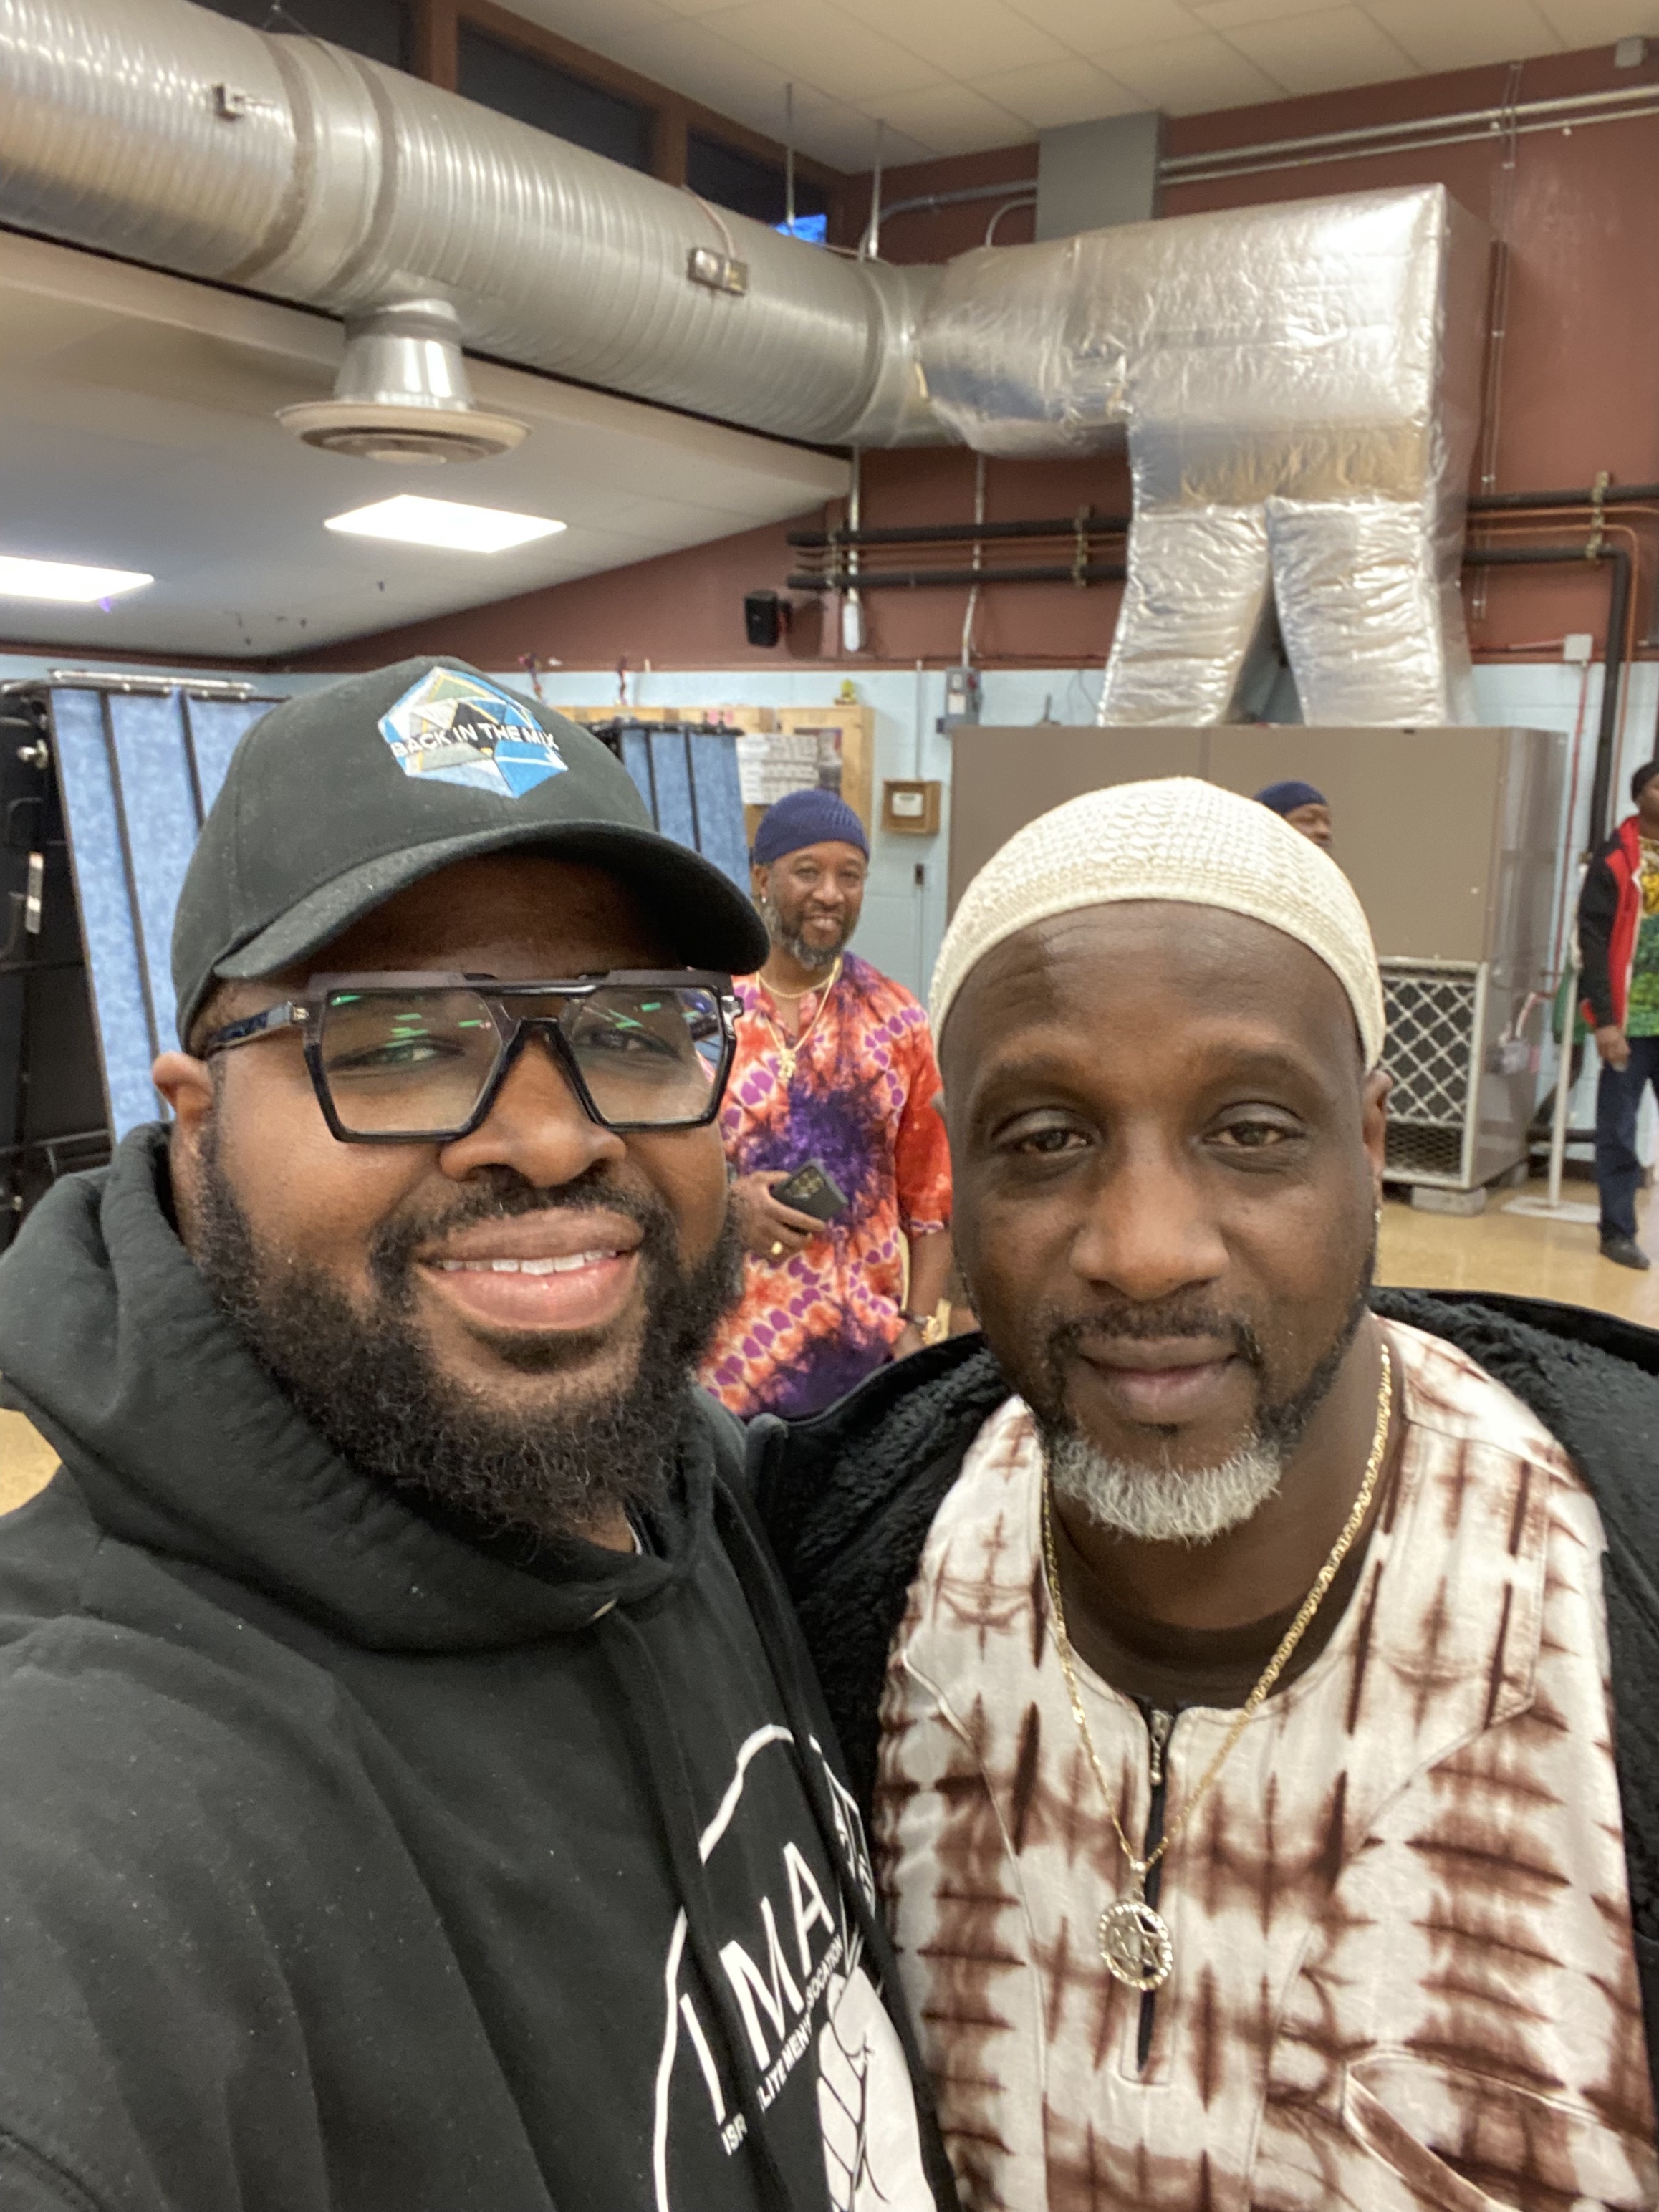
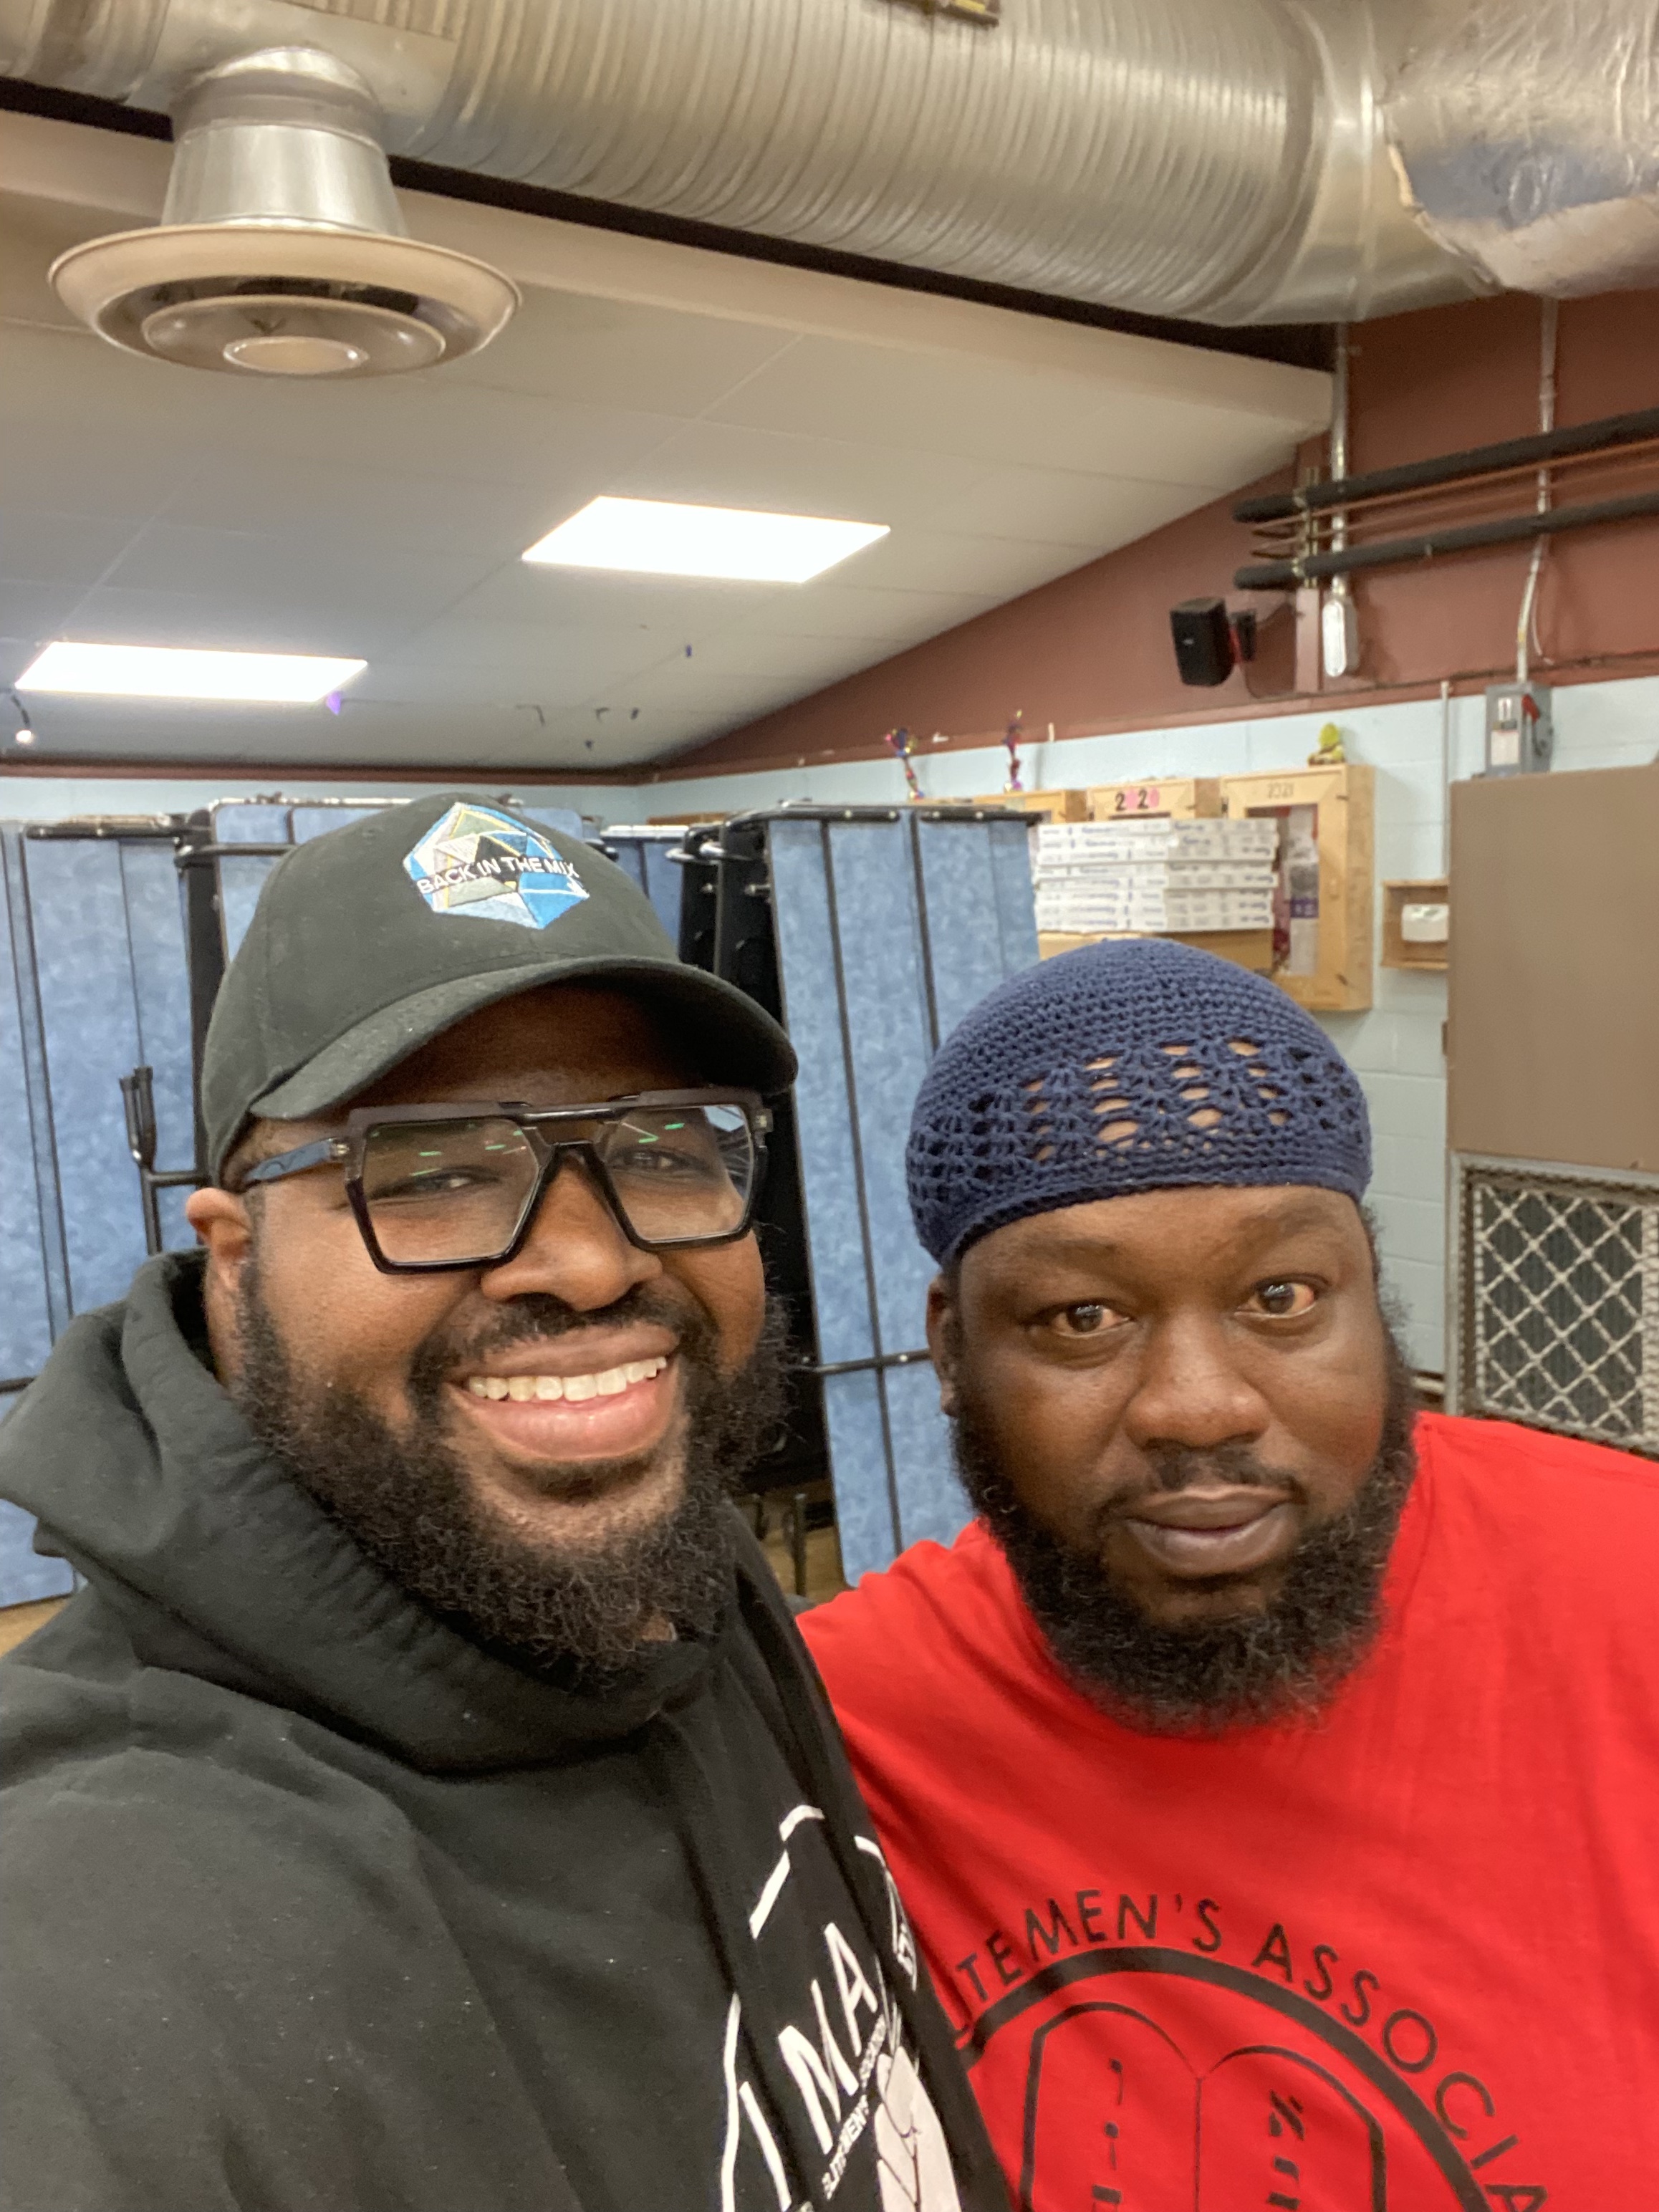
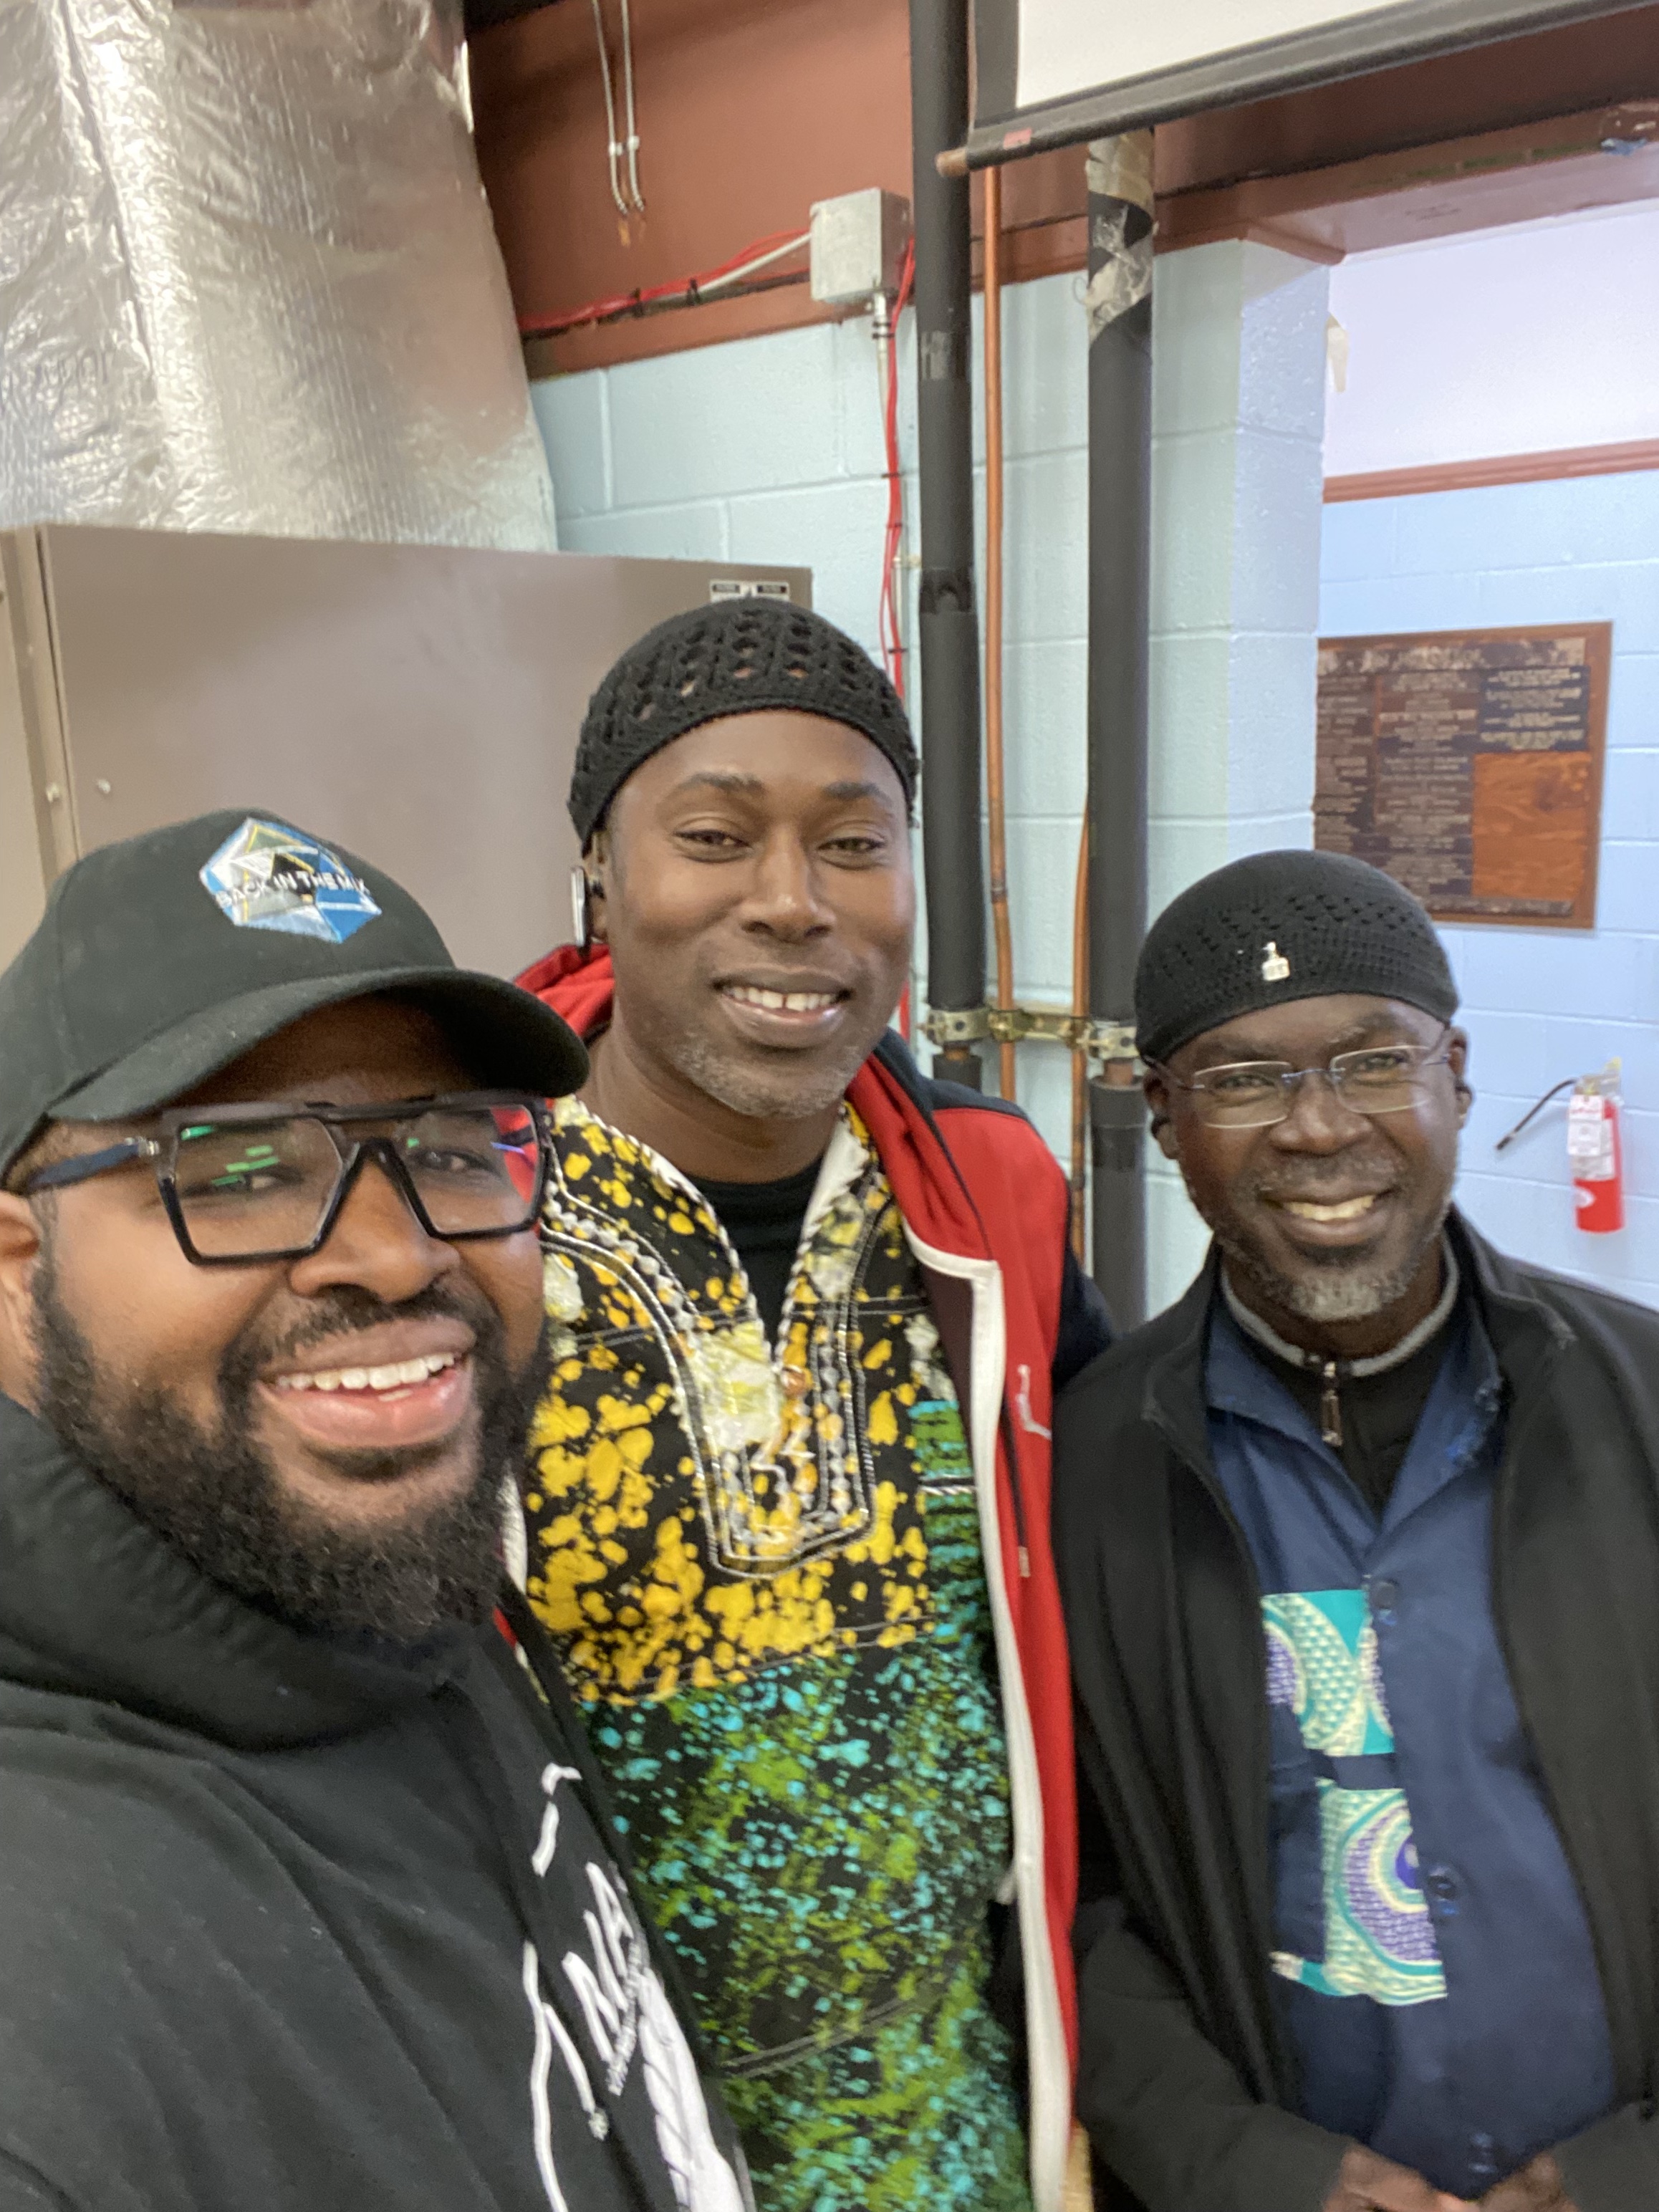
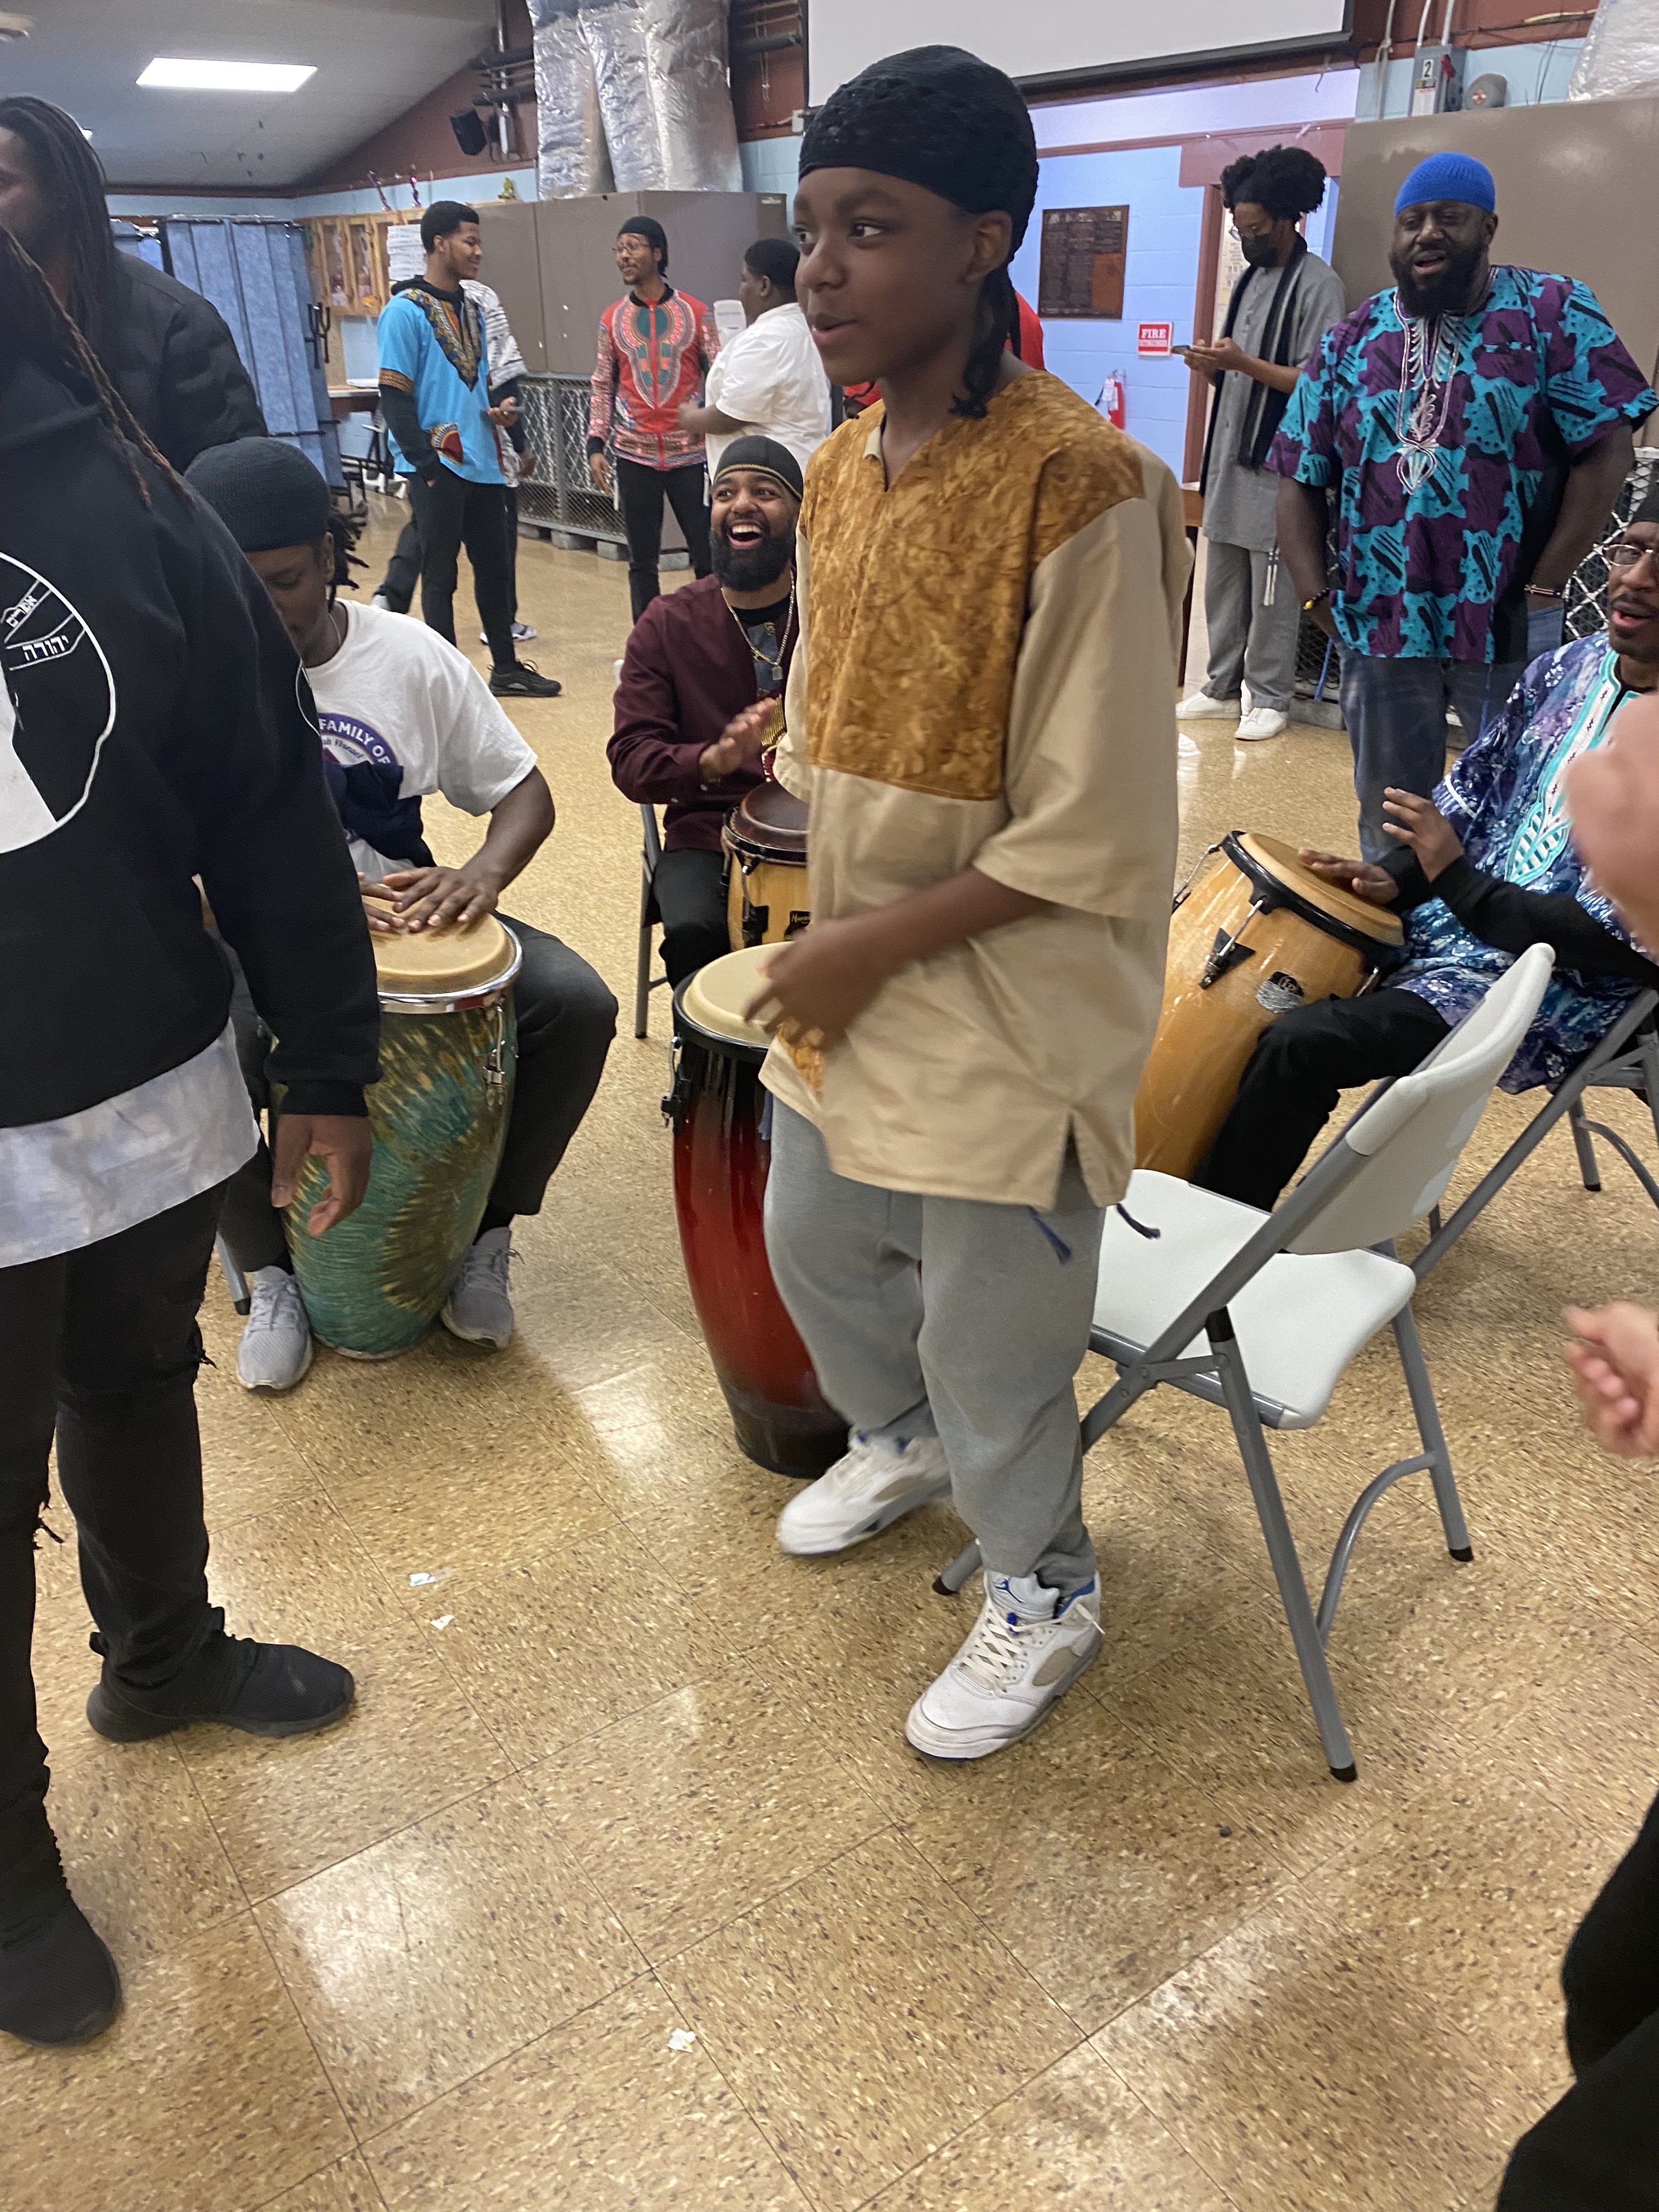
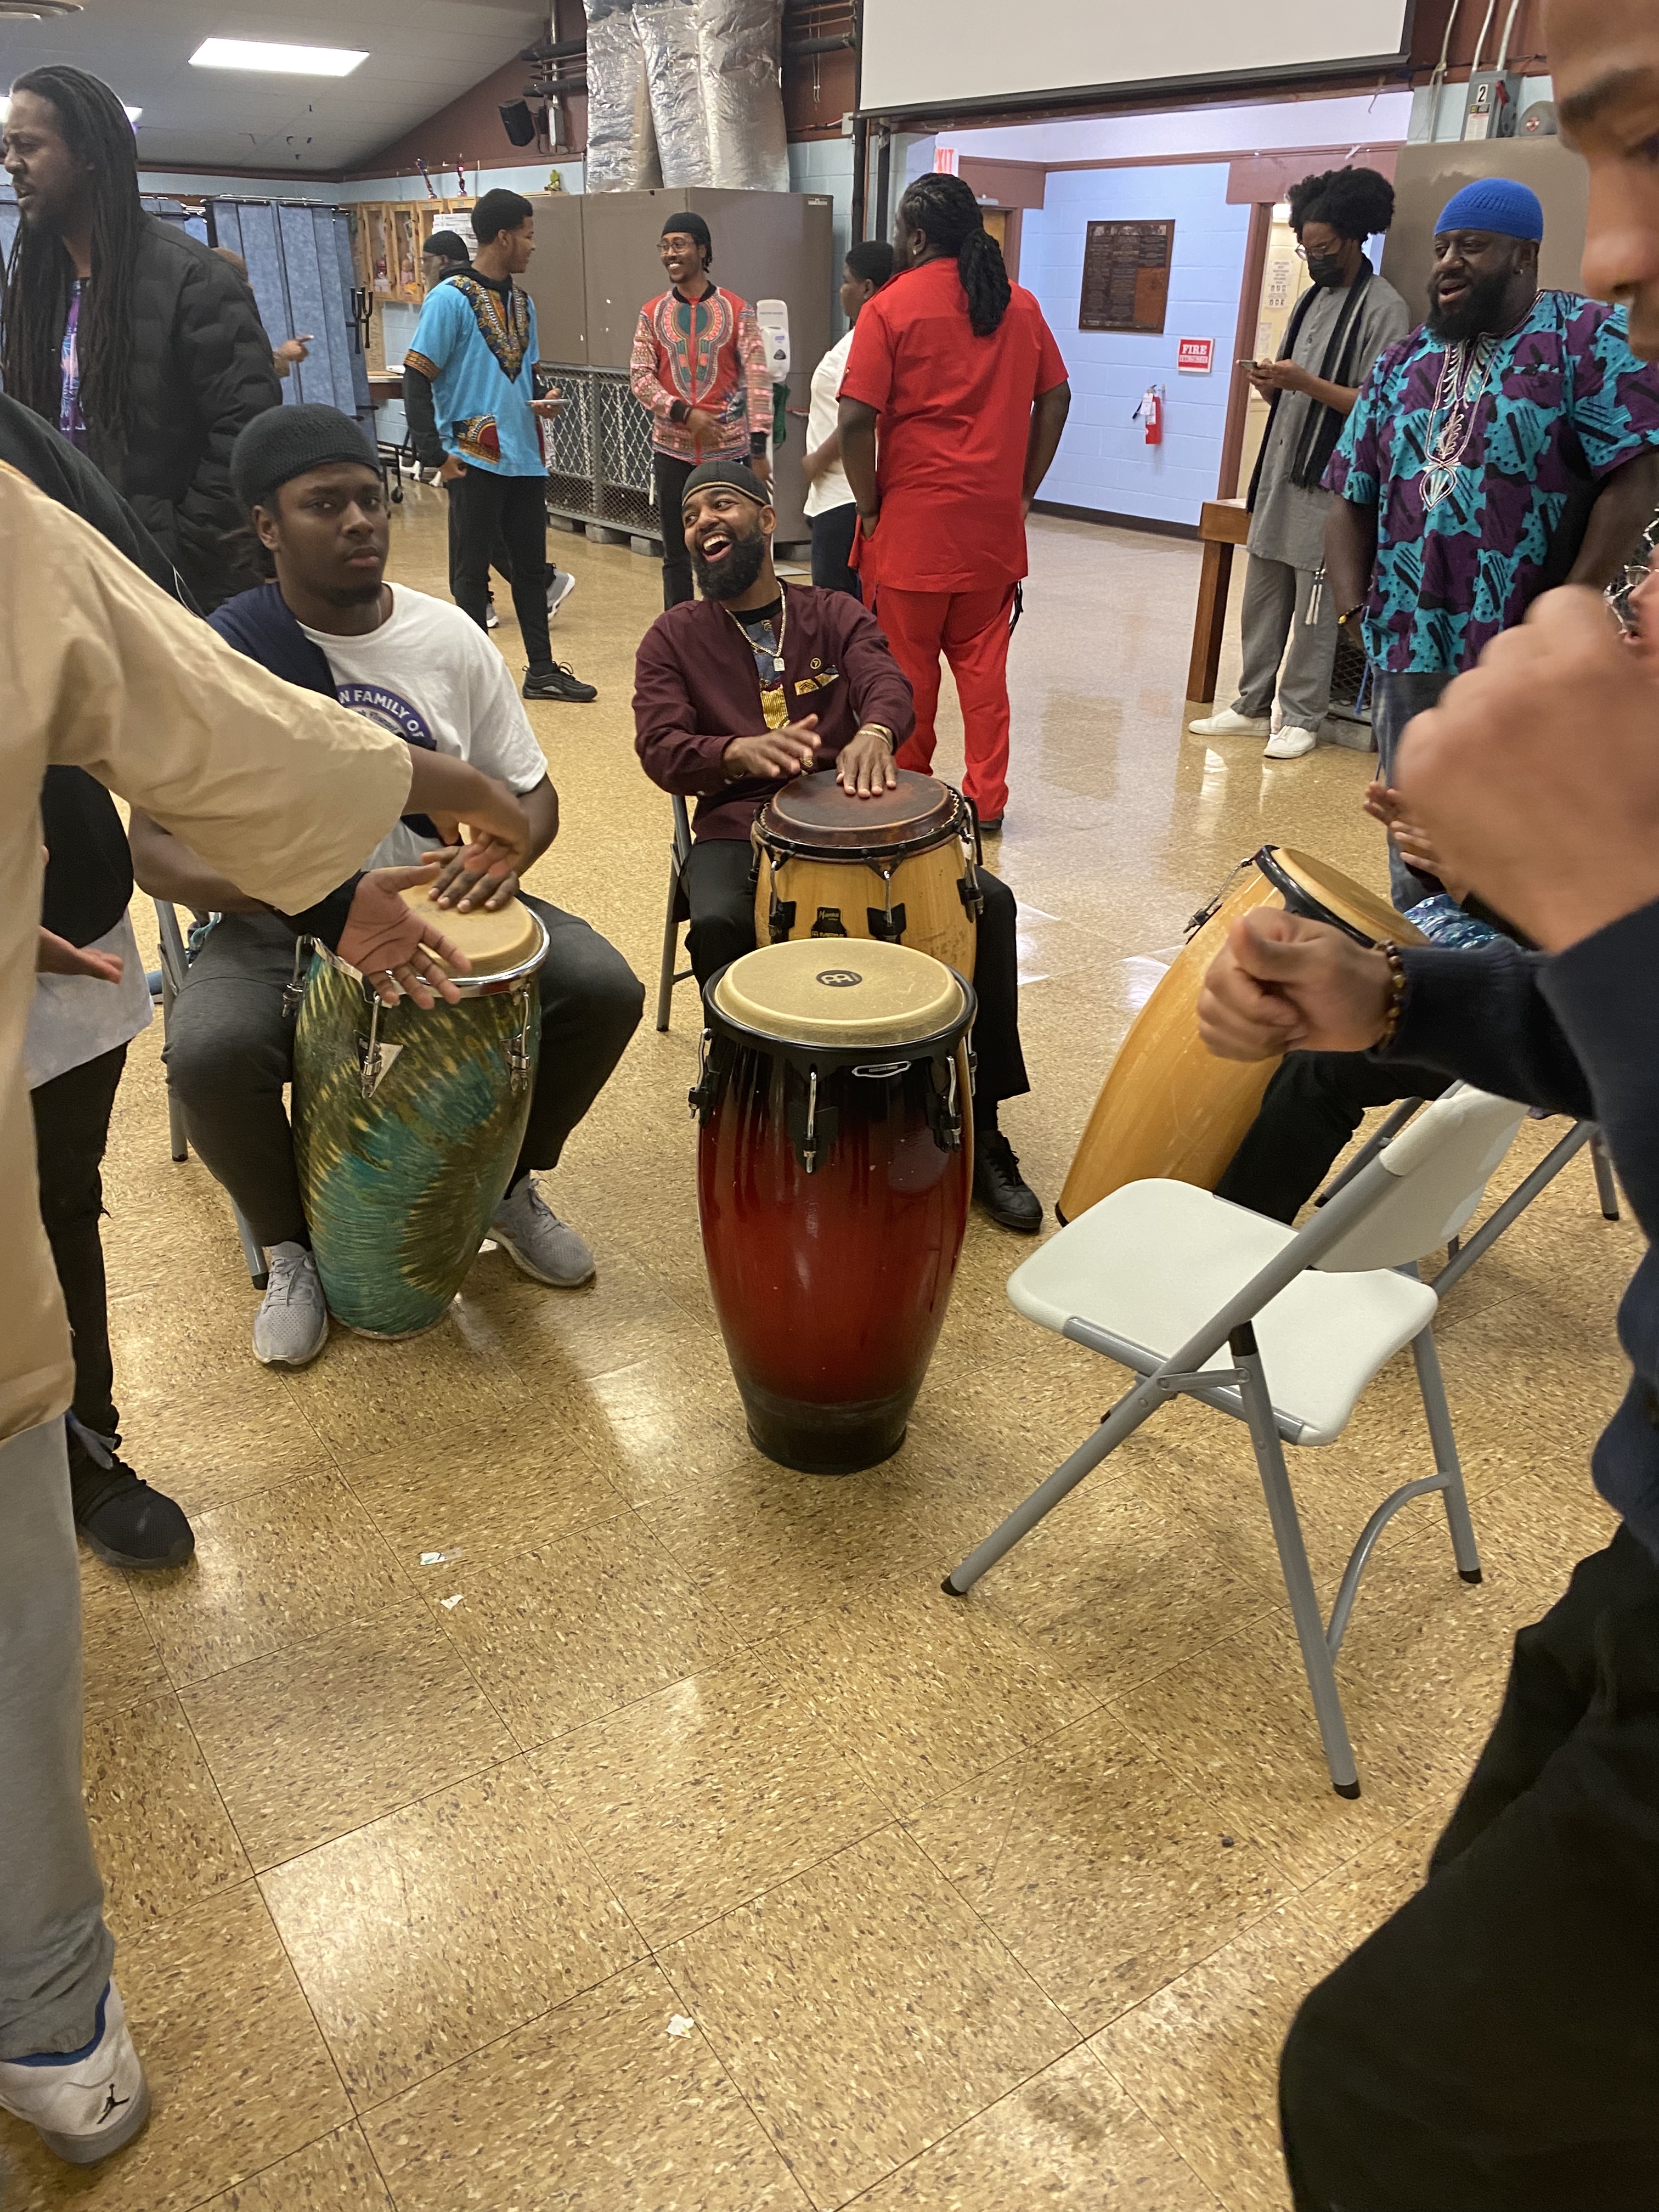
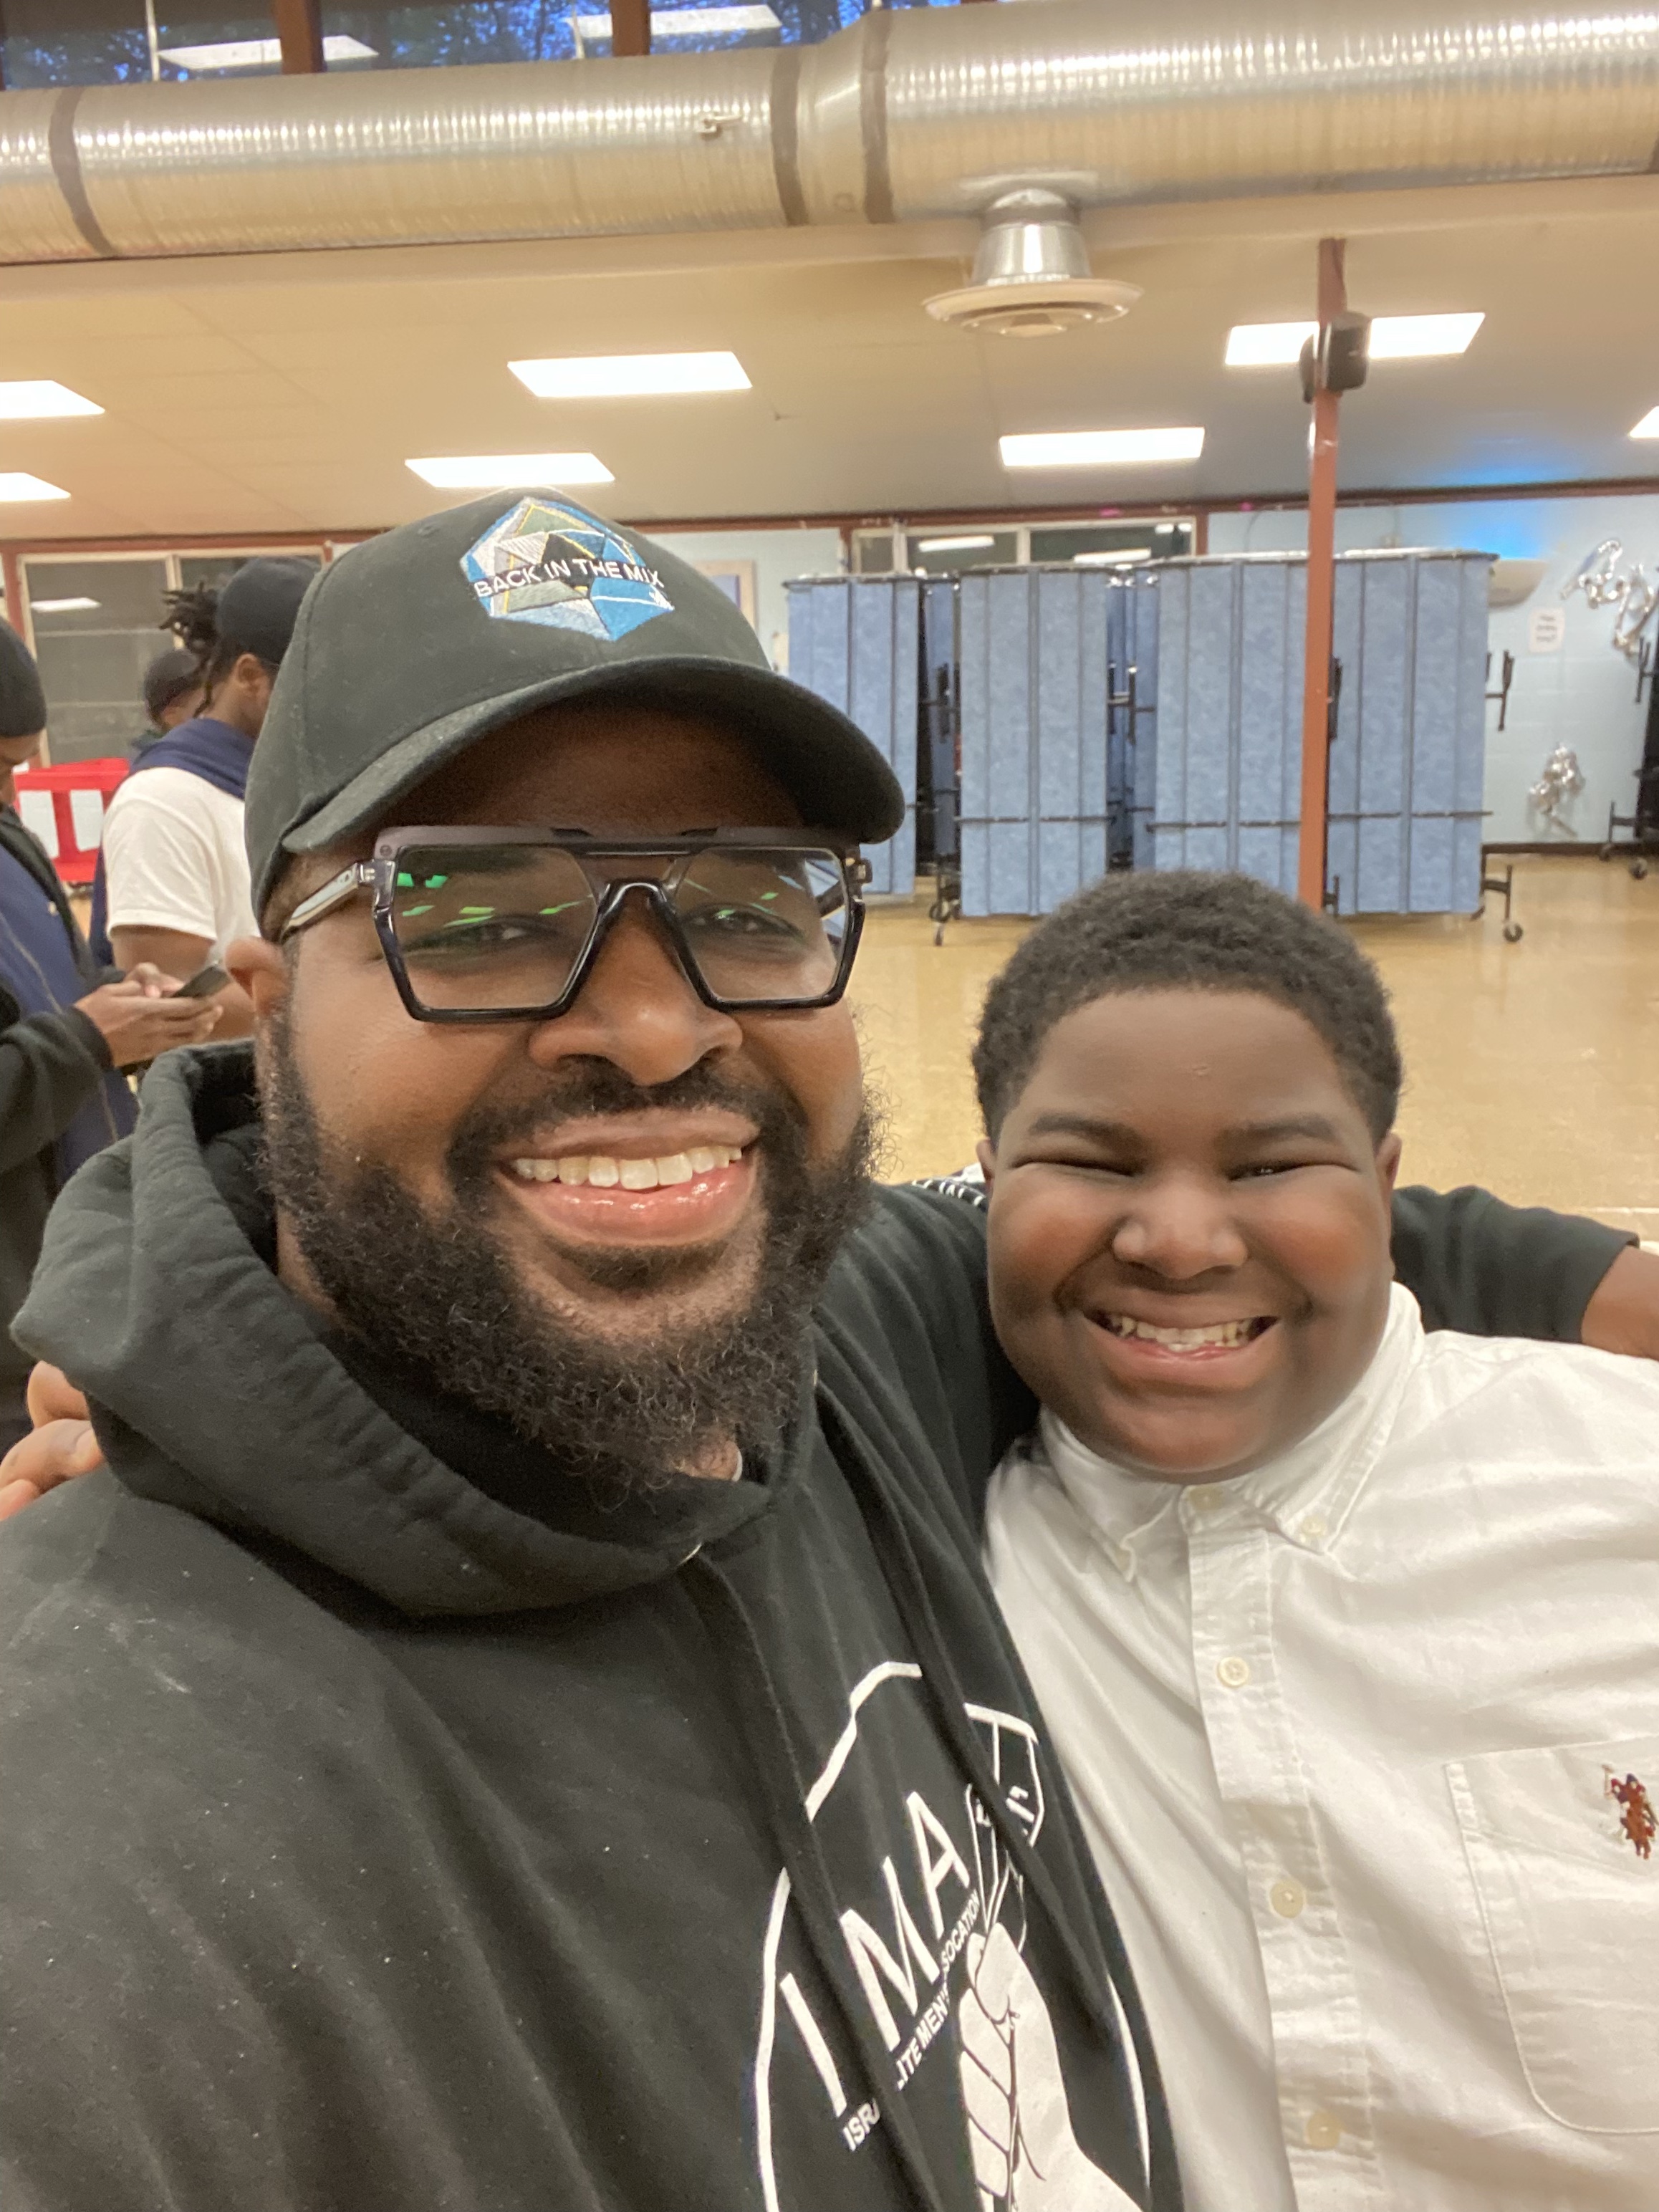
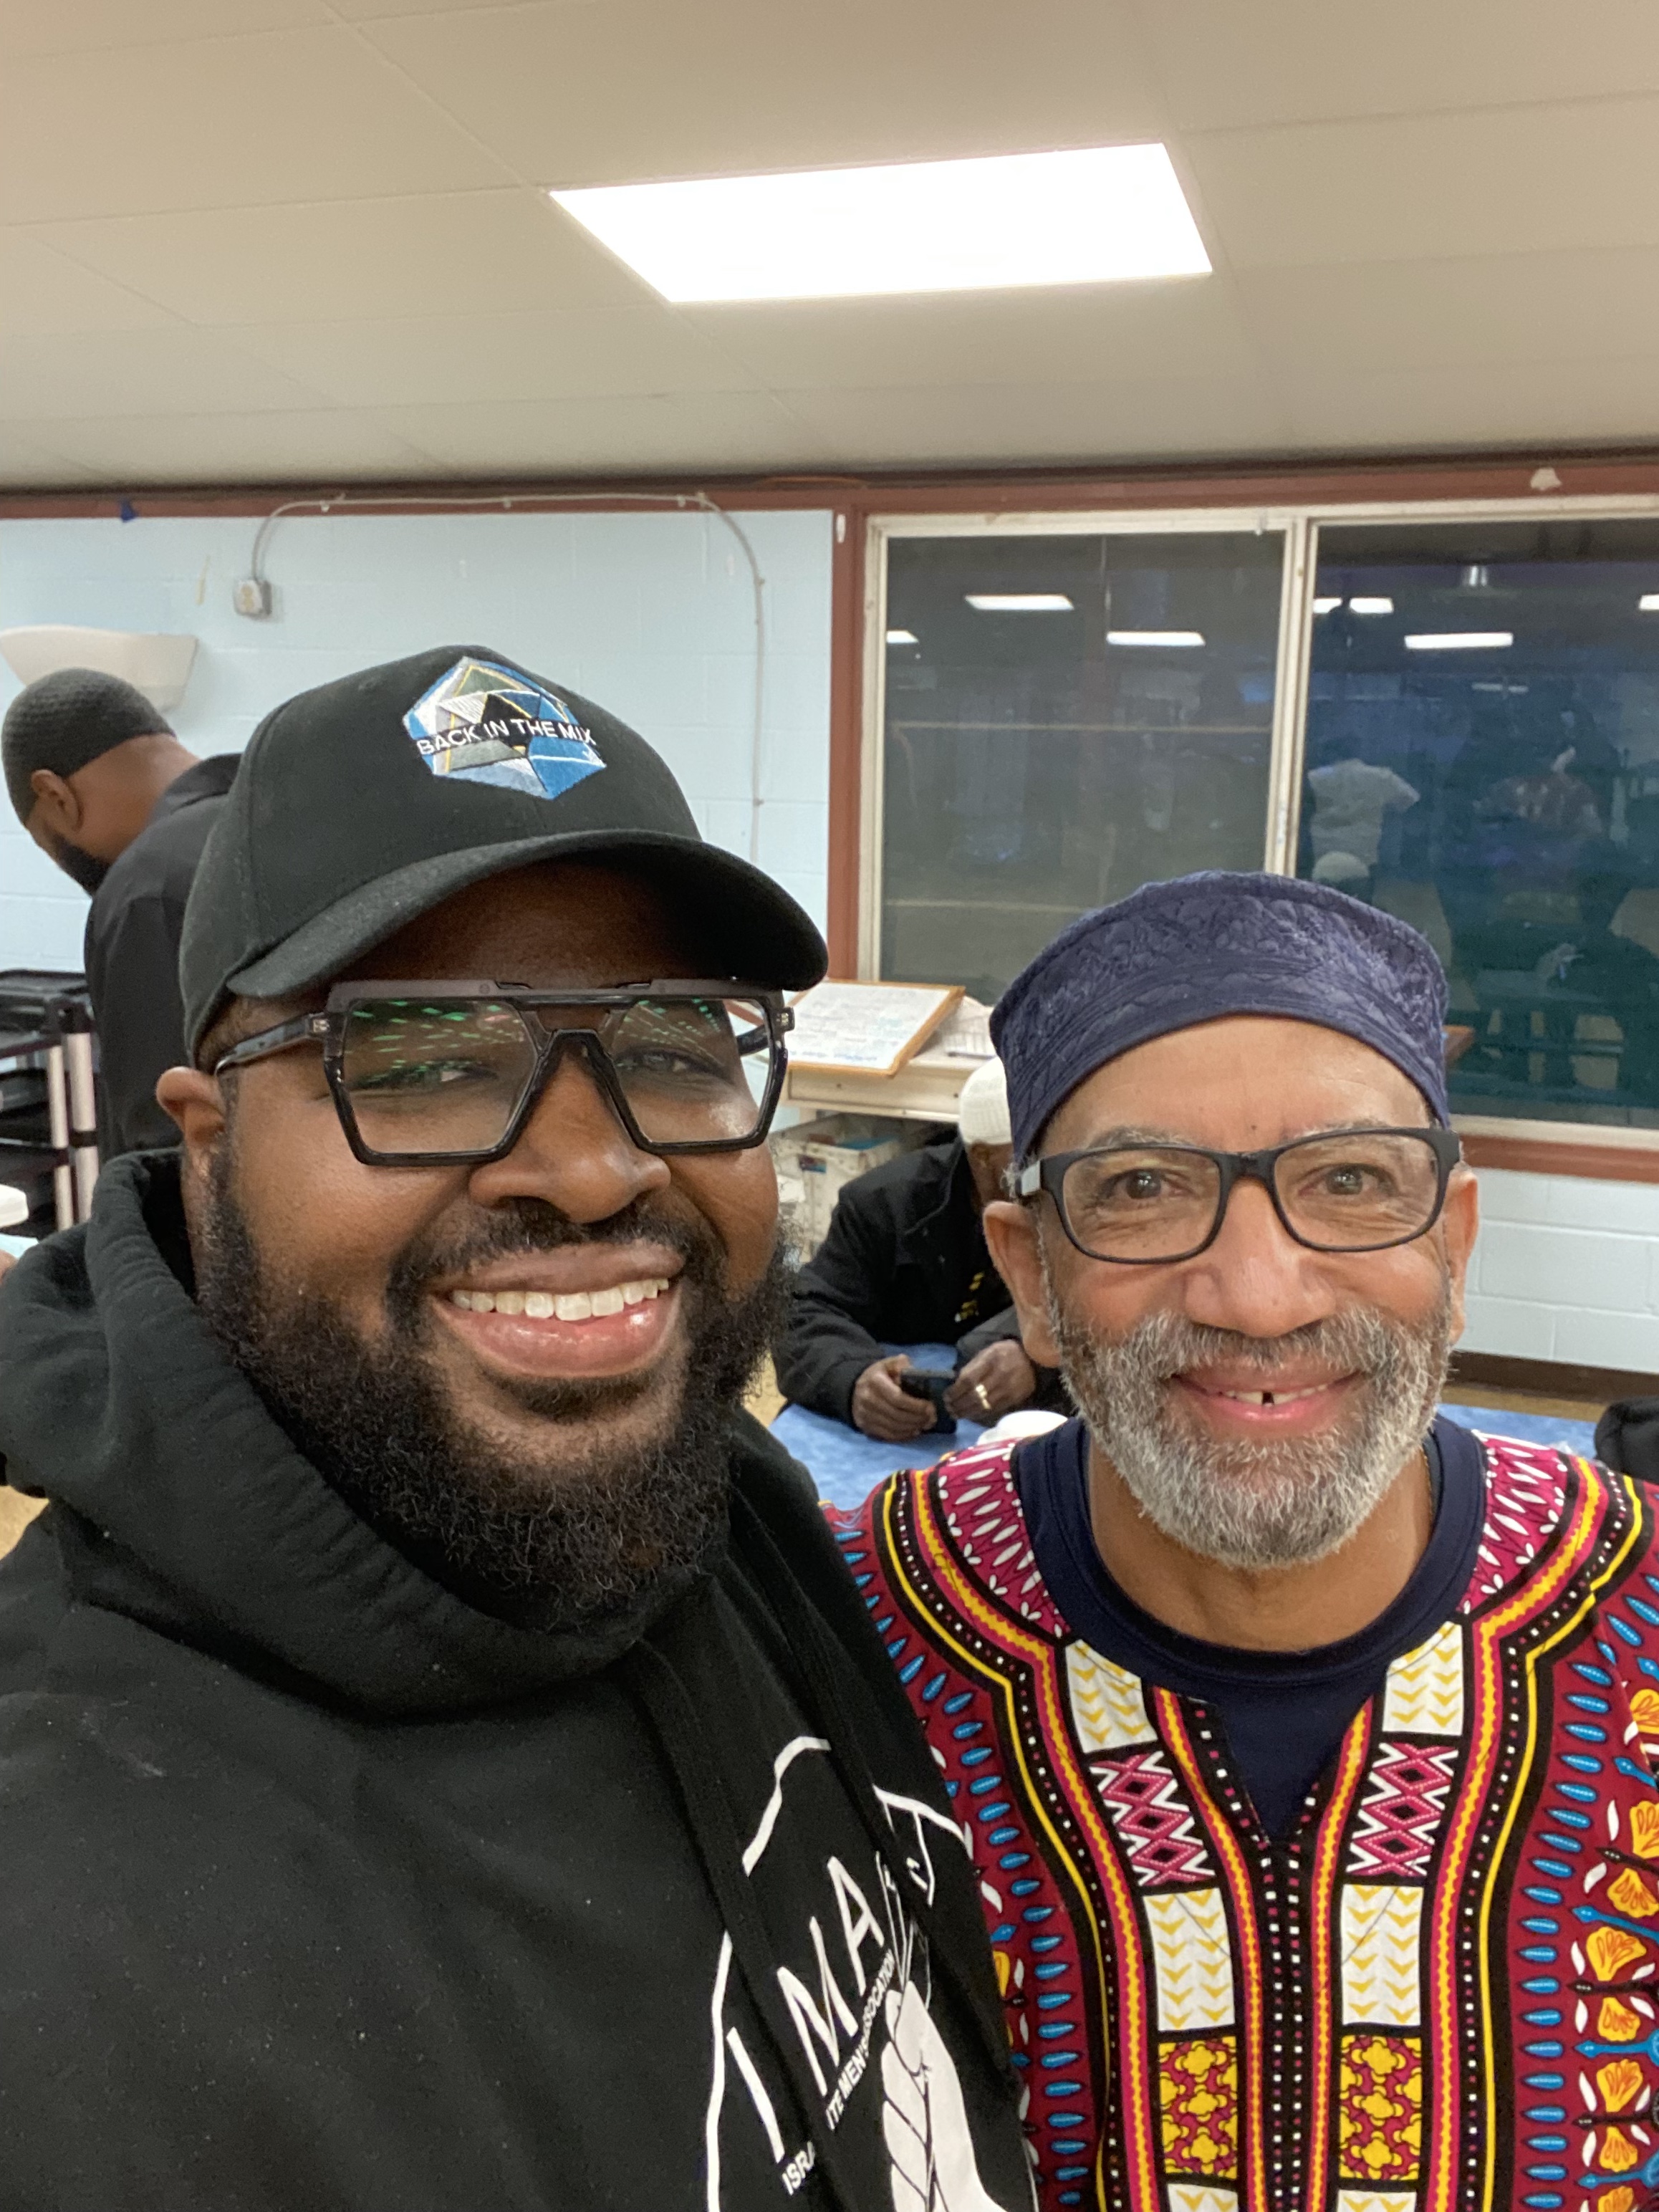
IMA retreat Photos
Photos taken during the retreat
Hover over the images below to see larger image
Page 2
< Page 1
< Page 1